


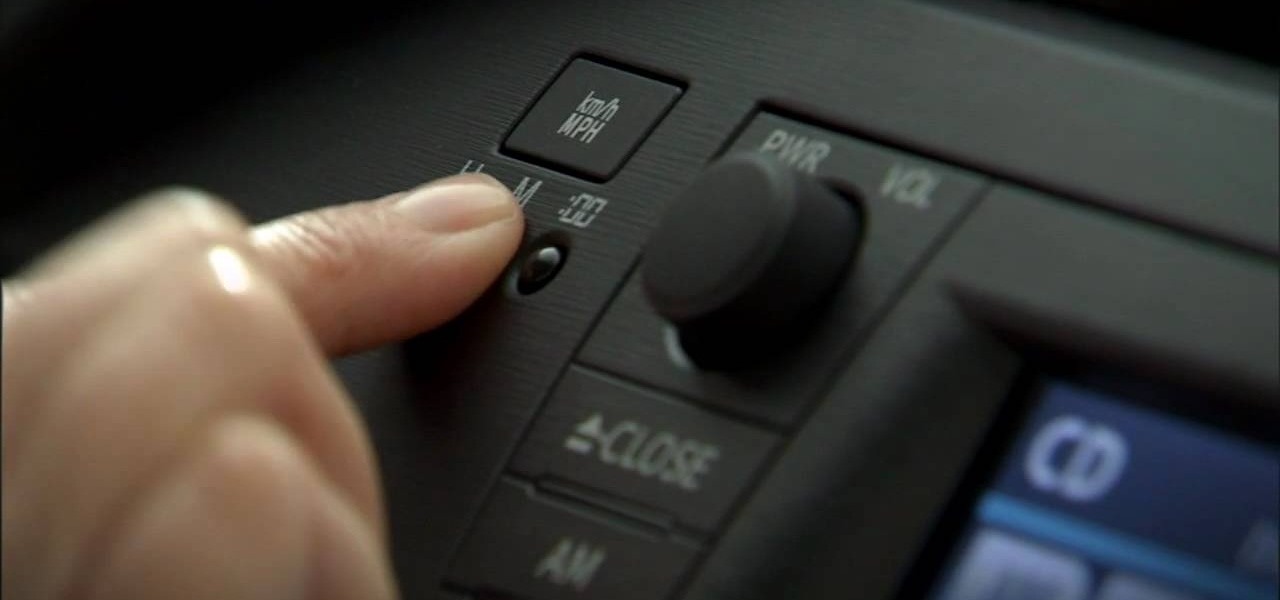
How To: Set the onboard clock in a 2010 Toyota Prius
In this tutorial, we learn how to set the onboard clock in a 2010 Prius. To the left of the audio system are the clock buttons. To set this, press repeatedly or press and hold the "h" or "m" button to change the hours or minutes. Then, you will be able to set the correct time. Above the clock buttons is a switch that will change your reading from miles per hour to kilometers per hour. The controls on the Prius are completely customizable so you can control what you see on your car and when. M...
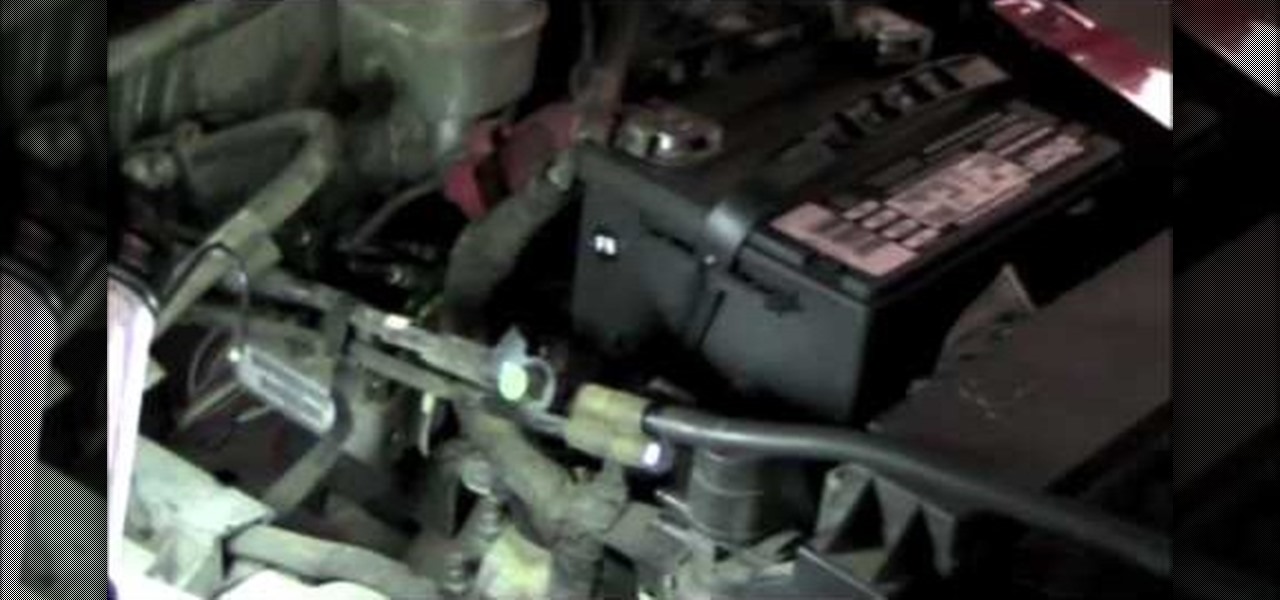
How To: Open Your Car Door Without a Key: 6 Easy Ways to Get in When Locked Out
Locking your keys inside of your car is frustrating, to say the least, especially if you're in a hurry to get somewhere. You can always call AAA roadside assistance or a locksmith, but you'll probably have to fork over some money, as well as wait for them to get to you. You might even get towed.
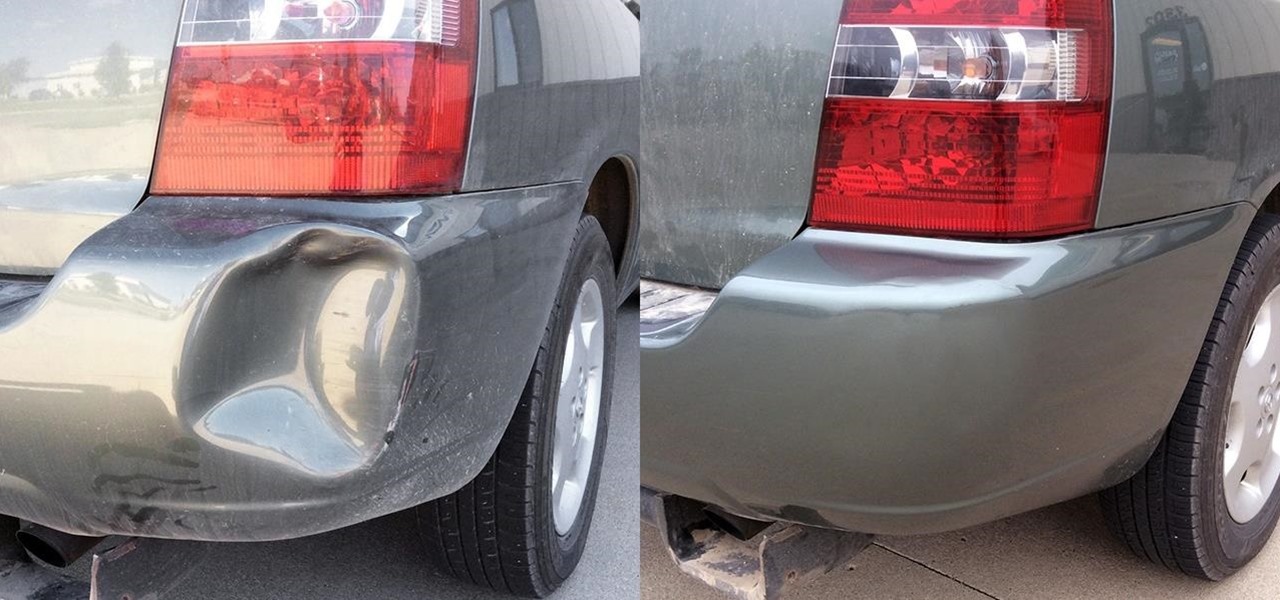
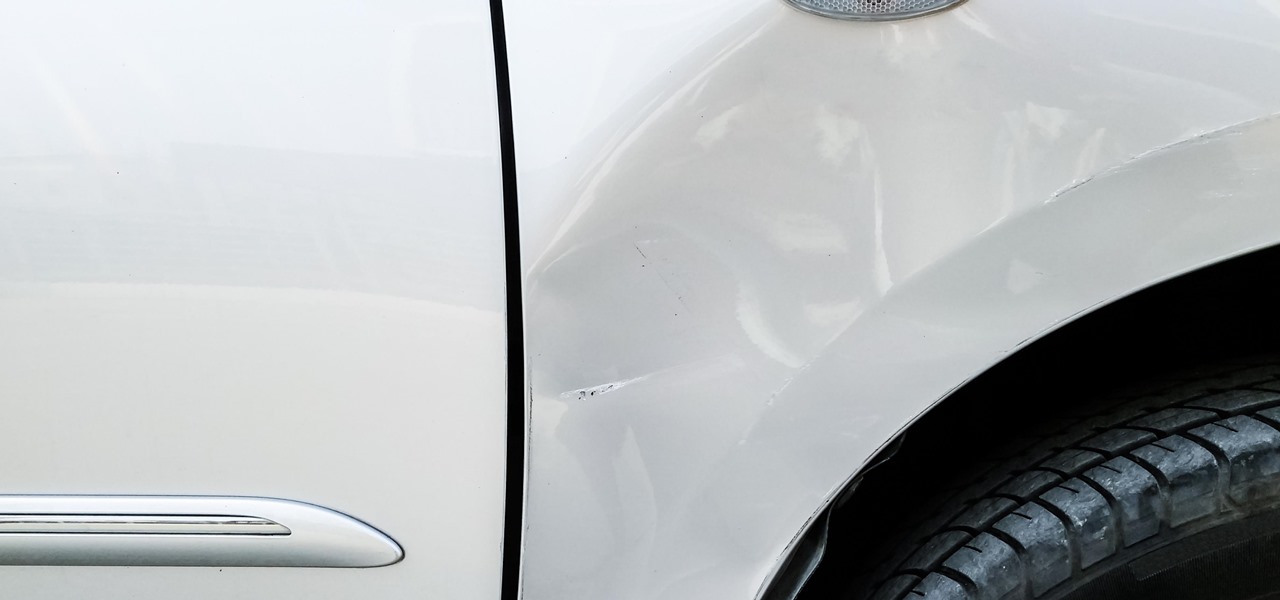
How to Fix Car Dents: 8 Easy Ways to Remove Dents Yourself Without Ruining the Paint
Only three things in life are certain: death, taxes, and getting a dent in your car or truck. Even if you're as careful as possible, you can't always account for runaway shopping carts, wrongly thrown footballs, out-of-nowhere light posts, and other real-life annoyances.

How To: Unlock a Car Door Using a Cell Phone and a Faraway Keyless Remote (Faux-To?)
What if you forgot your car keys and that keyless entry remote banded to them, how are you going to get in your car? Well, if you haven't forgotten your cell phone, too, you can call up someone who has access to that keyless remote, so you can unlock your car or truck via the wireless mobile phone! What?!?
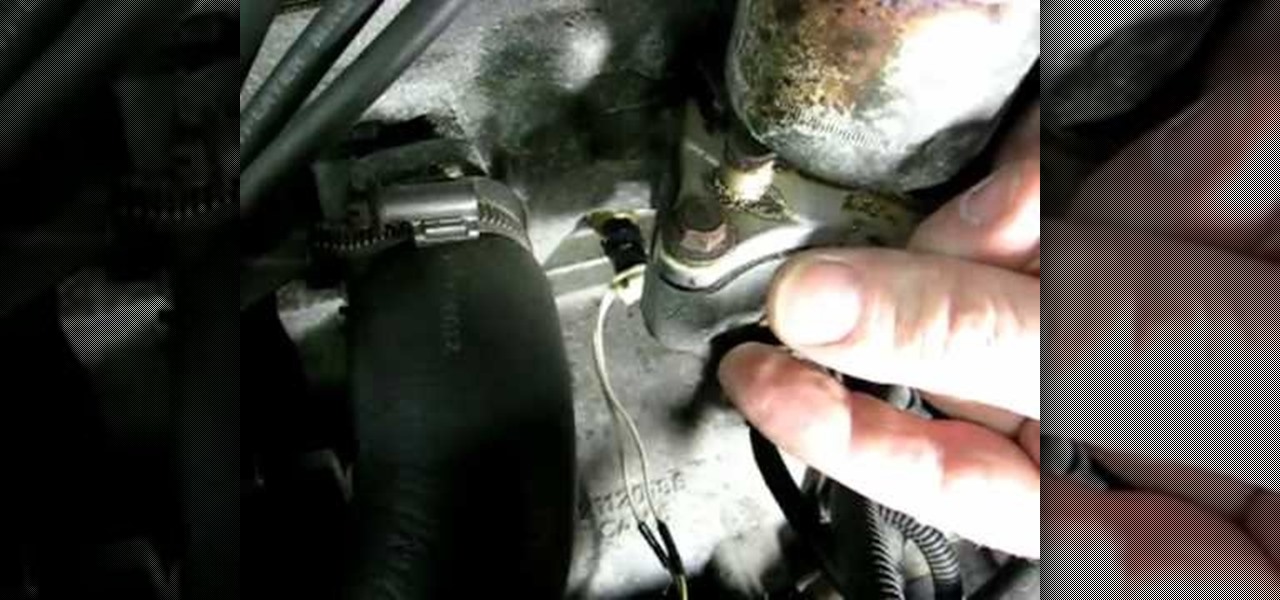
How To: Replace a Saturn S-Series engine coolant temp sensor
One day, your car may break down and you won't be able to afford to hire a mechanic, so what do you do... you look on the web for some how-to vehicle repair videos and become your own car mechanic, that's what. You don't need any advanced training to perform repairs and simple maintenance on your automobile, but you may need a few tools. Invest in the basic tools and you'll be prepared for just about any car malfunction you can think of. These tutorials will help get you on your way, as long ...
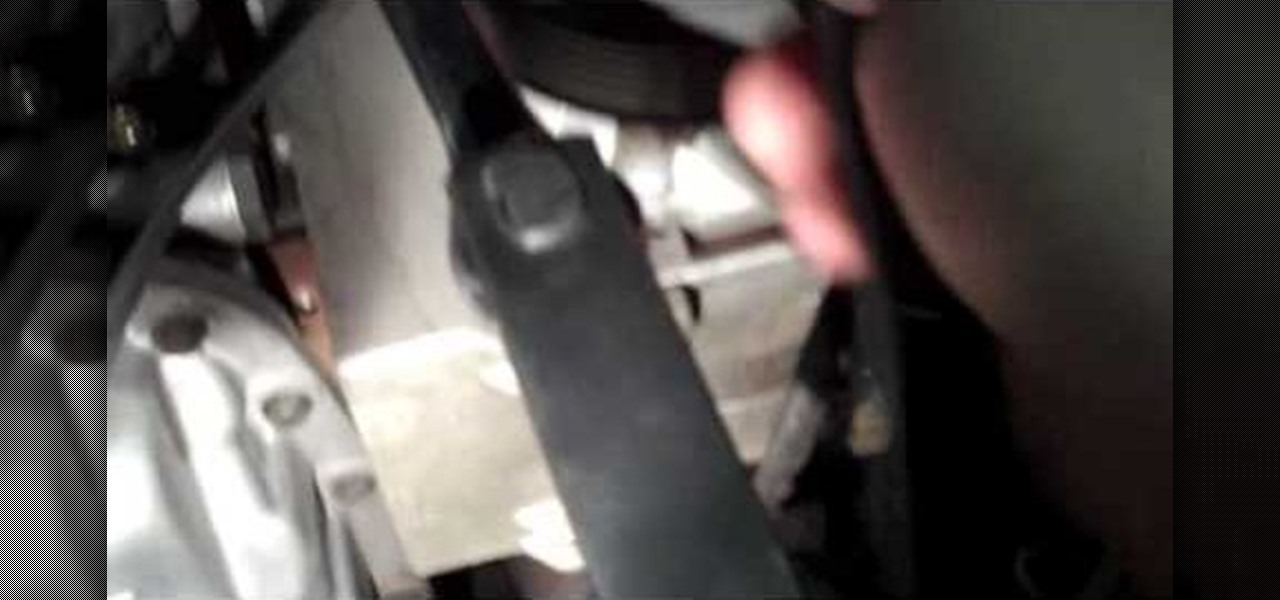
How To: Replace a serpentine belt on a Chevrolet Aveo 1.6L
In this video, we learn how to replace a serpentine belt on a Chevrolet Aveo. Start off by turning the passengers side wheel to the right and raising your car so you can get underneath it. Now, remove the nuts and bolts that are underneath the belt so you can get to it. When you see the belt, remove it with tools and slide the belt off. Now replace the old belt with the new one and tighten the tension on the belt again. Make sure it's in all the grooves correctly, then reinstall all the parts...
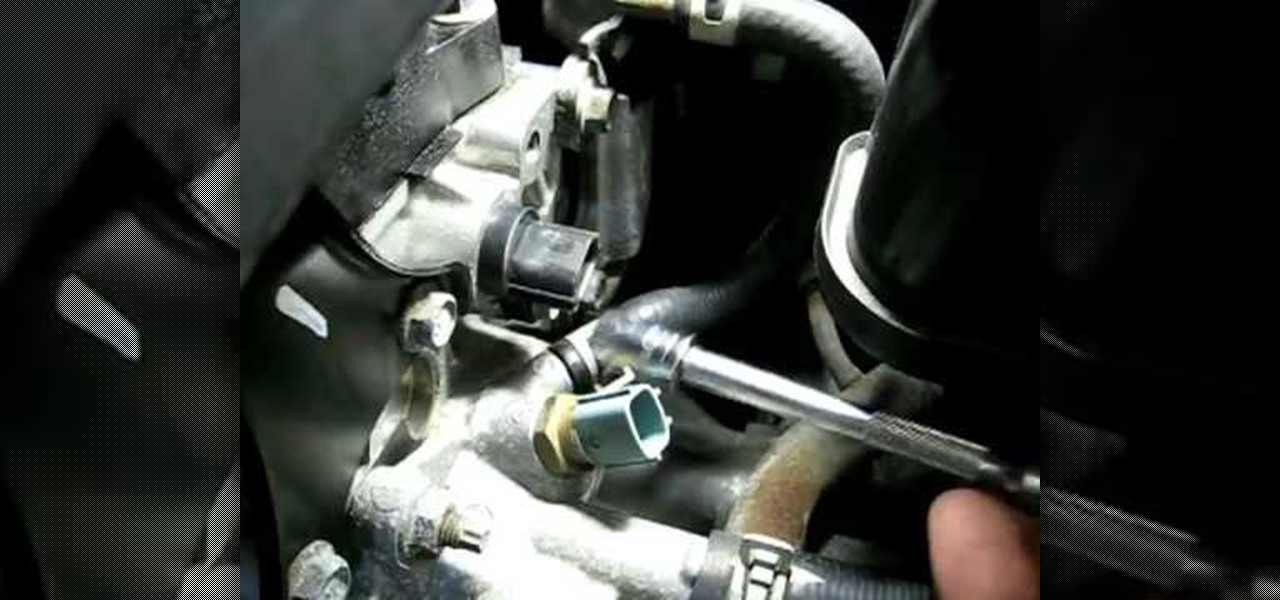
How To: Replace the camshaft sensor on a Nissan Altima
In this video, Richpin demonstrates how to replace the camshaft sensor in a Nissan Altima. The cam sensor is located by the cylinder box. First, remove the electrical connector off of the sensor. Push up on the lock on the bottom of the sensor to pull back and remove the connector. The sensor is held in by a bolt so remove the bolt with a ratchet wrench. Next, pull out the sensor. Wiggle it to remove the seal of the o-ring. Rub the residual oil on the new sensor's o-ring. Then, slide the new ...
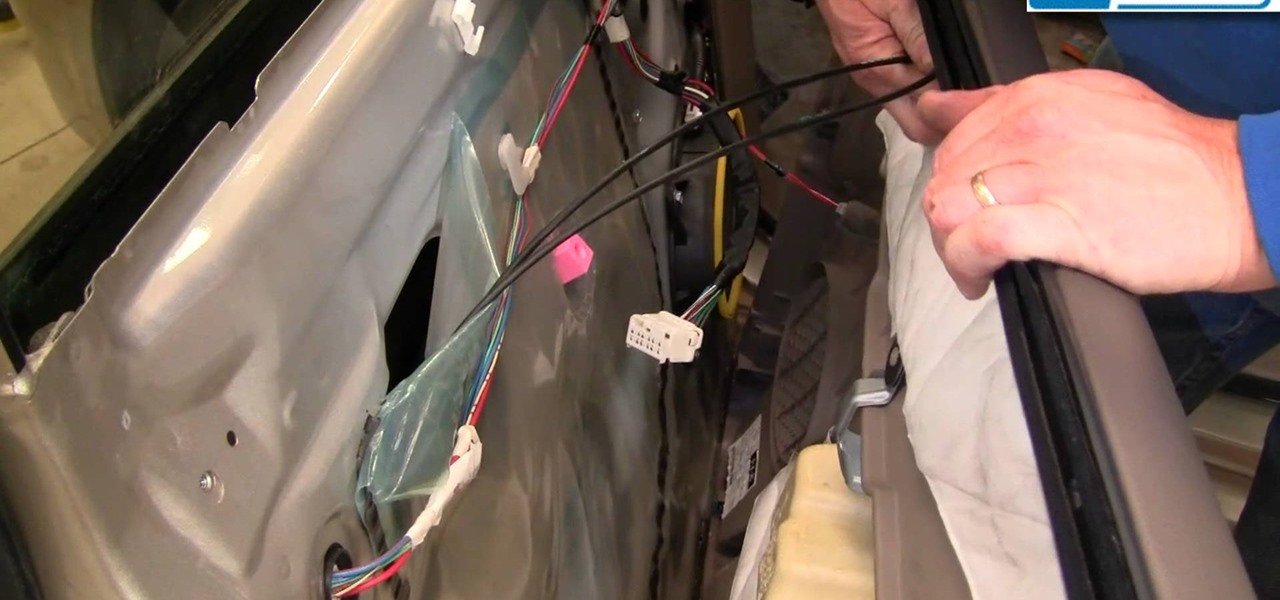
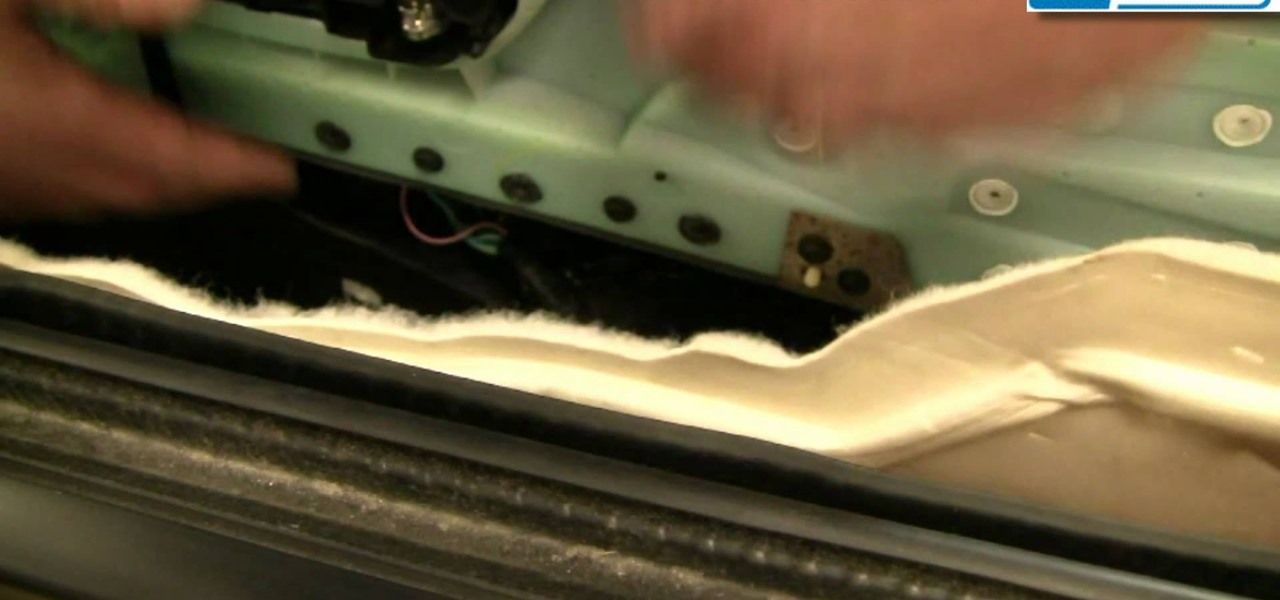
How To: Replace the Front Inside Door Handle on a 04-10 Toyota Sienna
In this video we will show you how to replace the inside door handle on your 04-10 Toyota Sienna.

How To: What Side of Your Car Is the Gas Tank on? This Easy Trick Will Tell You Every Time
Ever drive a friend's car? Maybe a rental? Then you've probably found yourself in a very frustrating situation when you realize you need some gas. Heck, it probably even happens to you in your own car sometimes.
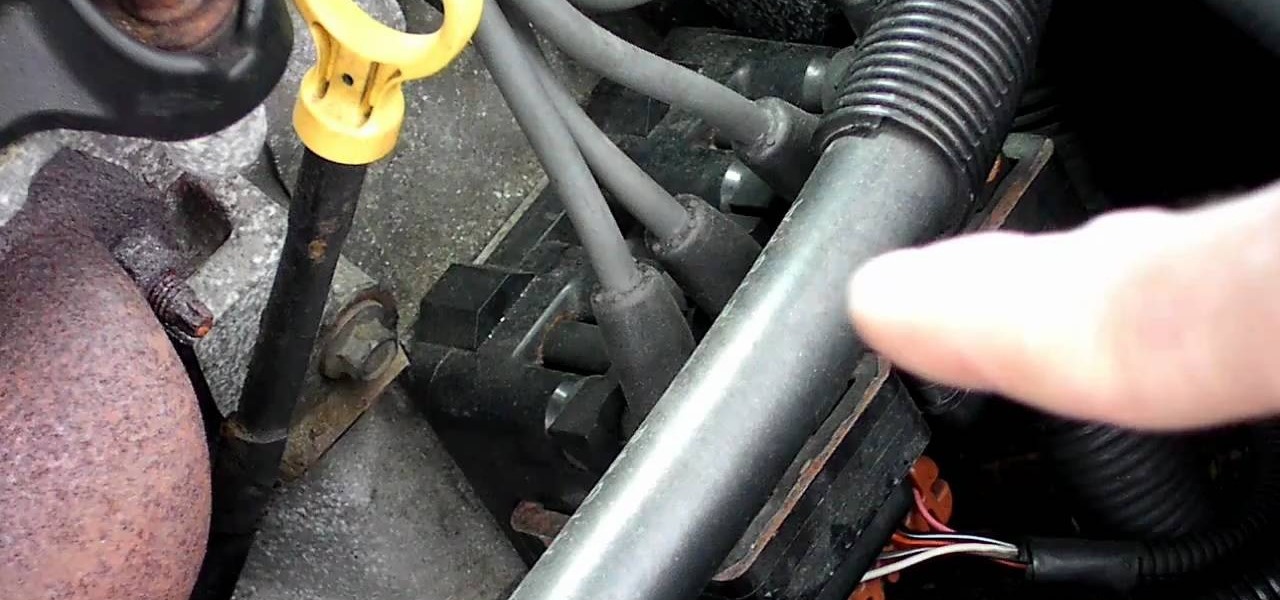
How To: Fix error codes P0340 & P0341 on a Saturn S-Series
IF you have a Saturn S-Series and it's thrown a P0340 or P0341 error code at your on the scanner after the check engine light has come on, you might be wondering how your cam position sensor can be off if you don't actually have one in your car. Watch this video to learn exactly what this code means to your car and some thoughts on how you might fix it. Three words: spark plug wires.
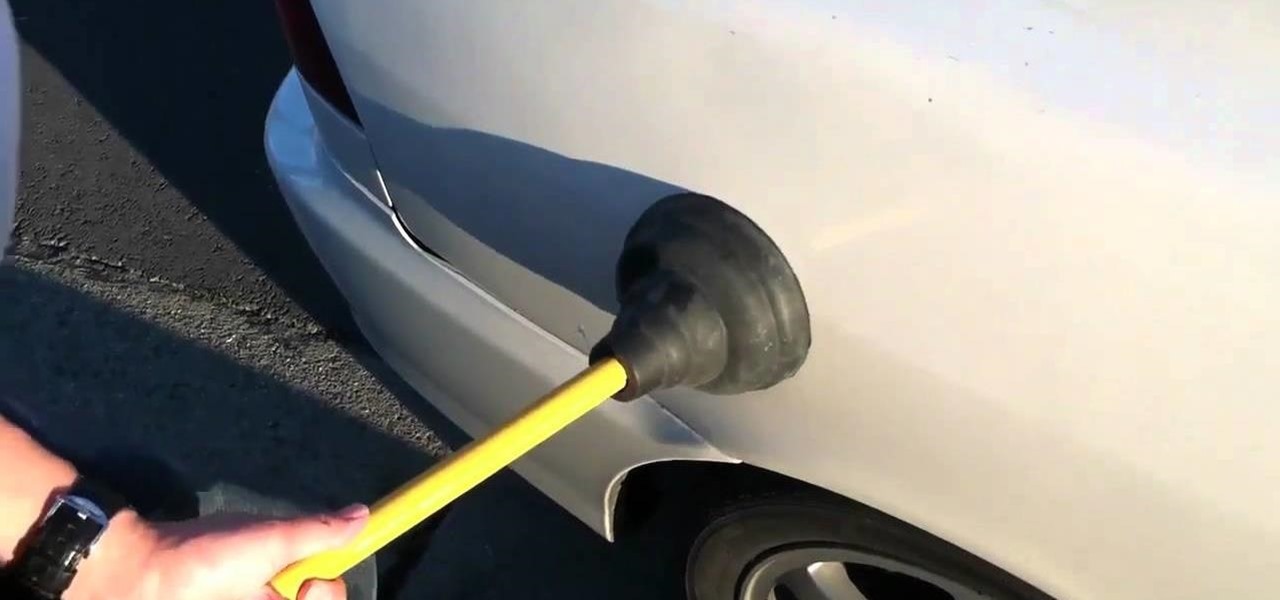
How To: Get a Dent Out of a Car Using Just a Plunger
Paying for someone to get a small dent out of your car can be expensive, especially when you realize that you can just do it yourself. If you've got a bathroom—and you probably do—then it's a surefire bet that you've also got a plunger.

How To: Remove Spray Paint After Your Car Gets Tagged
There are some really talented graffiti artists out there. Some of them are good enough that businesses hire them to paint advertisements, rather than hiring someone to scrub their work off the side of the building.
How To: Remove the door panel from an '07 or later Chevy Avalanche
If, for some reason, you need to remove one of the door panels from your '07 or later-model Chevy Avalance, this video shows you everything you need to know to be able to do that! This tutorial will also work for any similarly constructed GM truck.

How To: Repair the ABS & speed sensor in a Dodge Dakota truck
In this automotive repair video you will learn how to fix the ABS and speed sensor in a Dodge Dakota truck. Learn how to read diagnostic trouble code to evaluate trouble indicators and fix broken sensors. So if your speed sensor or ABS brake system are on the fritz in your Dodge Dakota truck, watch this video and learn how to check and fix them.

How To: Replace the hydroboost unit on a Chevy Astro van
If your Astro van is performing poorly (or perhaps not at all), one solution is to replace the hydroboost. Fix your power brakes and power steering with a new hydroboost. You'll need some moderate familiarity with auto mechanics to do this.
How To: Smoke test an EVAP leak (code P0442) in a 2002 Jeep Liberty
After running a diagnostics test on a 2002 Jeep Liberty, if you get the code P0442, that means you have an Evaporative Emission Control System (EVAP) leak detected, which is just a small leak, but a leak nonetheless. This video will show you how to smoke test the EVAP leak to find the problem spot inside the vehicle.
How To: Fix Your Car Dent with a Hair Dryer
If you've ever dinged your car—or worse, a friend's or parent's car—and caused a dent, you know how expensive it can be to fix. A two-second mistake can end up costing hundreds of dollars, but you can save yourself repairs costs and a headache with just a couple of household items.
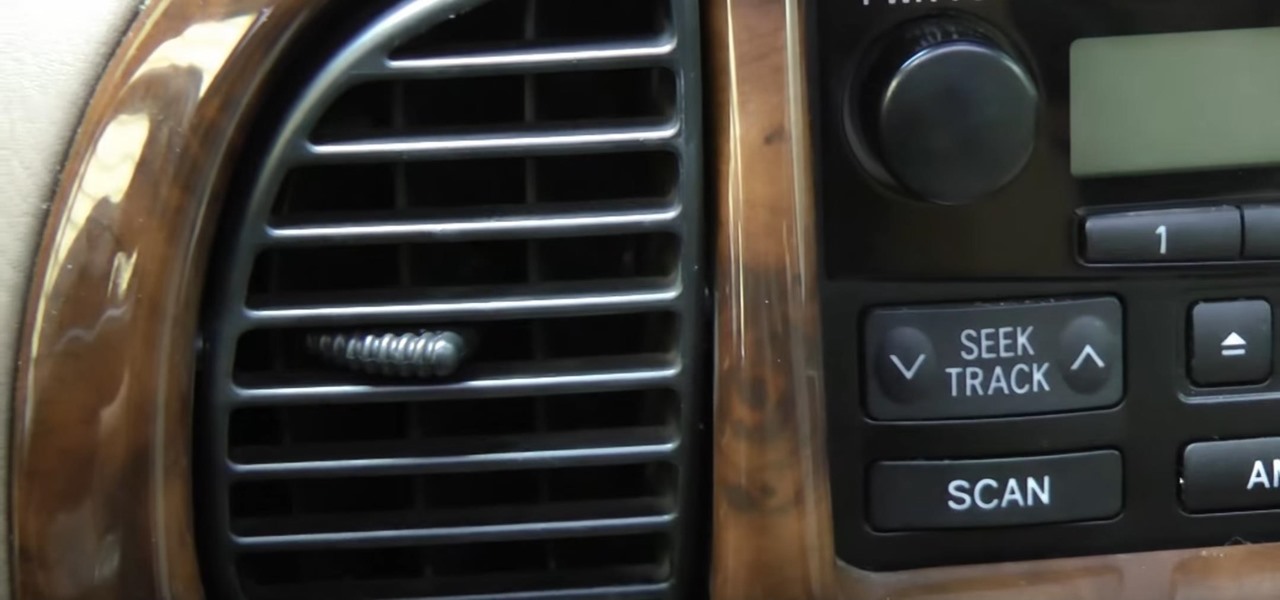
How To: Use Lysol to Clean Bacteria Out of Your Car's Air Conditioning System
Air conditioning systems are cold and wet and make great breeding grounds for bacteria and mold, and adding a nasty odor to the air coming out of the vents.

How To: Blend automotive paint to match an existing color
If you're thinking about making some minor paint repairs on your vehicle, getting that paint to match the color on your car can be a difficult task. This video will help you out by showing you how to blend your automotive paint to match the existing color.
How To: Clean your AC drain if water is spilling into your car
This next tutorial is going to be showing you how to take care of a problem that is very common amongst drivers. If water has ever spilled on you from inside your car, it's probably from your HVAC. When you use your A/C, condensation builds up as well, and this usually goes down a drain. But if it gets clogged then you might have a problem.
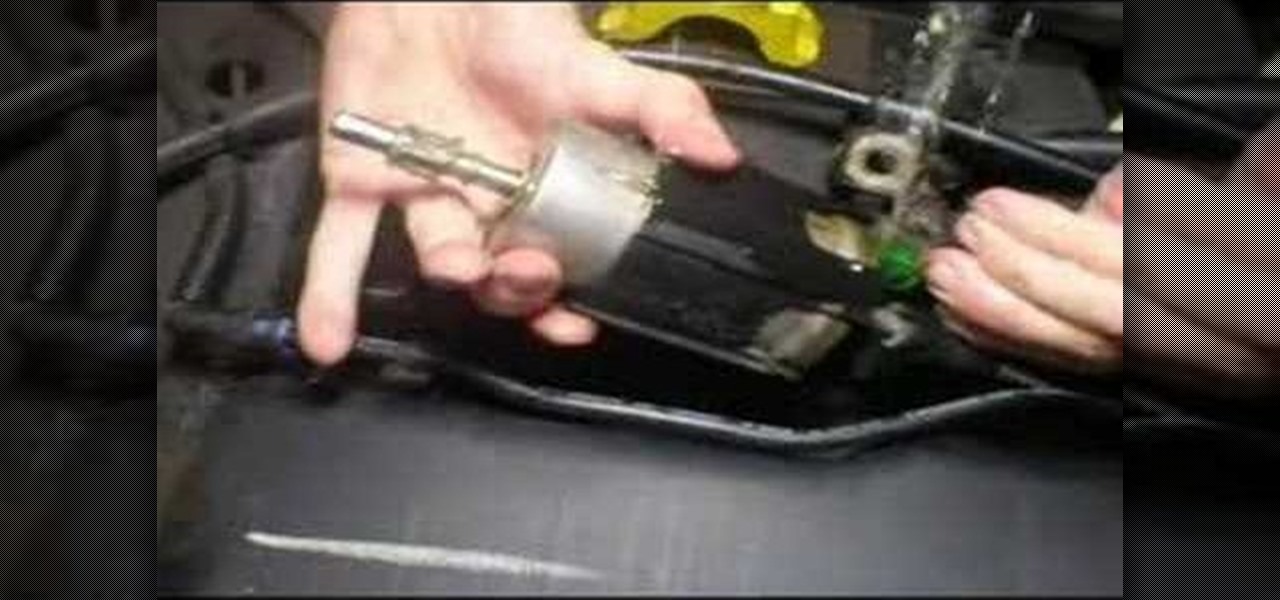
How To: Replace the fuel filter in a Saturn S-Series car
One day, your car may break down and you won't be able to afford to hire a mechanic, so what do you do... you look on the web for some how-to vehicle repair videos and become your own car mechanic, that's what. You don't need any advanced training to perform repairs and simple maintenance on your automobile, but you may need a few tools. Invest in the basic tools and you'll be prepared for just about any car malfunction you can think of. These tutorials will help get you on your way, as long ...
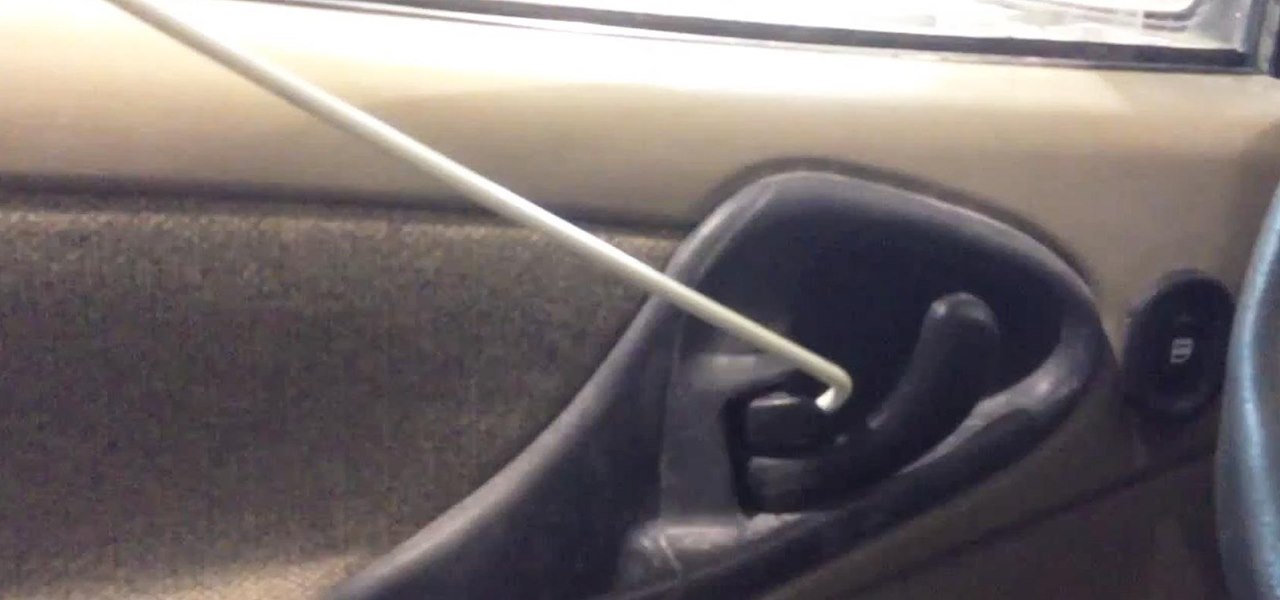
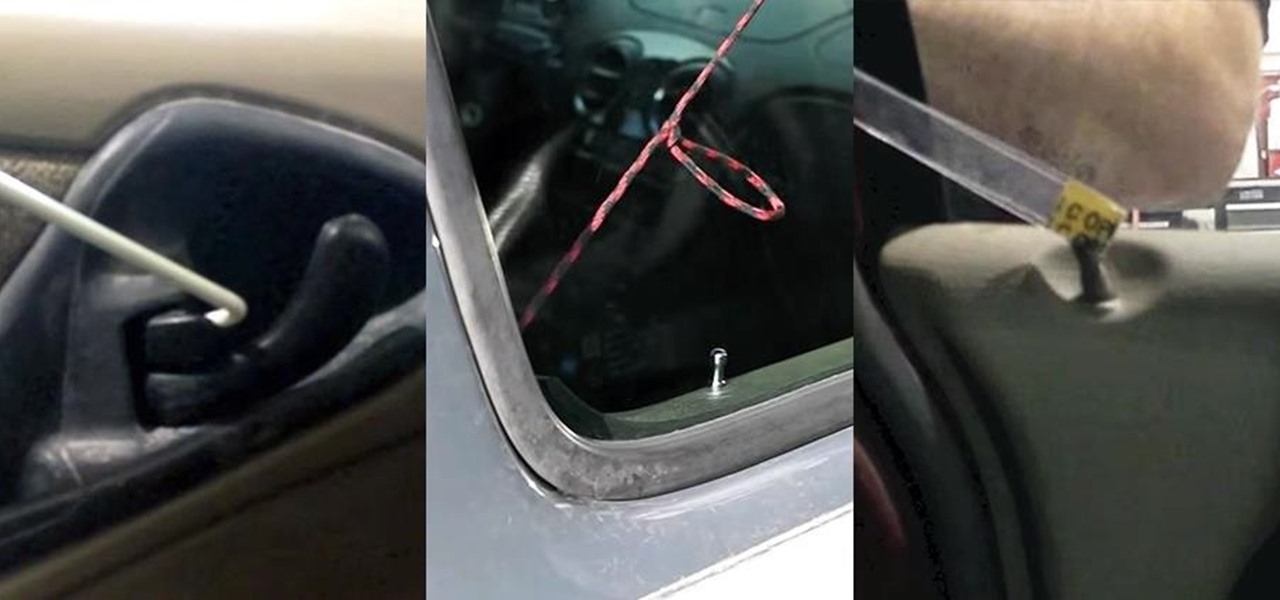
How To: Unlock a Locked Car Door Without a Key or Slim Jim
It has happened to everyone at one time or another, but if you work in an environment with cars, it may happen much more often.
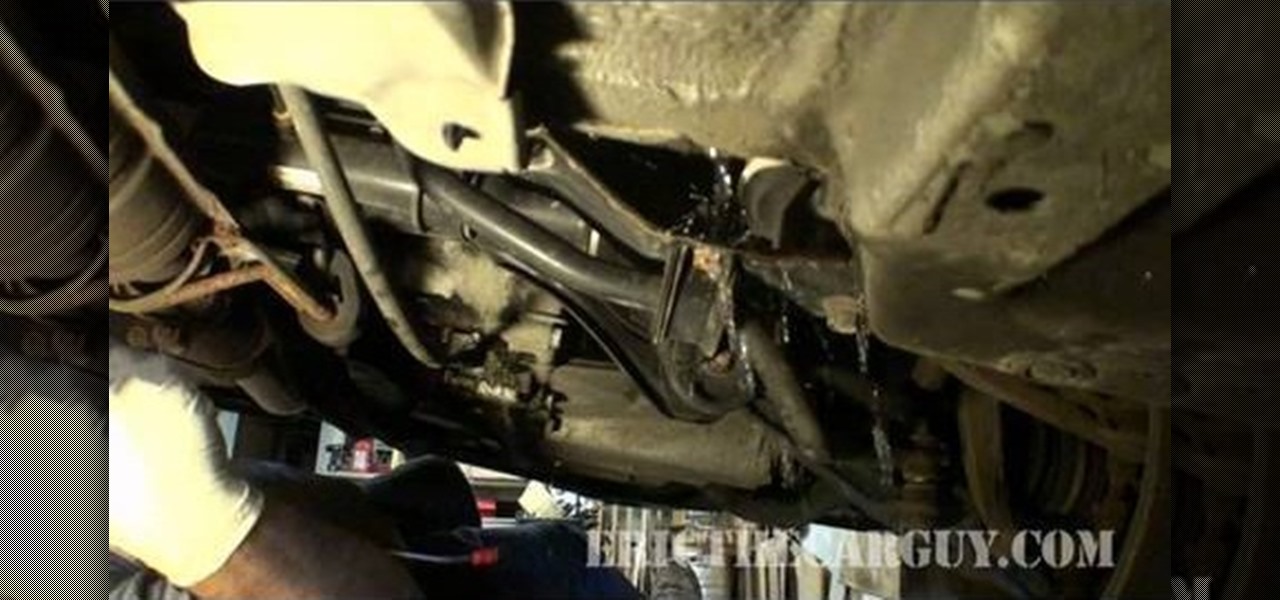
How To: Fix transmission and oil seal leaks fast with AT-205 Re-Seal
If you've got an oil seal leak in a very inconvenient place, then this video by Scotty Kilmer will show you how a little bottle of re-sealer may be able to fix that leak. The vehicle in this video has a leak in the front main seal of the automatic transmission. The seal is pretty cheap, but you have to pull the transmission off to replace it, which can take a serious amount of time. The re-sealer is a better solution, a polymer oil that can mix with all kinds of oils. If you mix AT-205 Re-Sea...
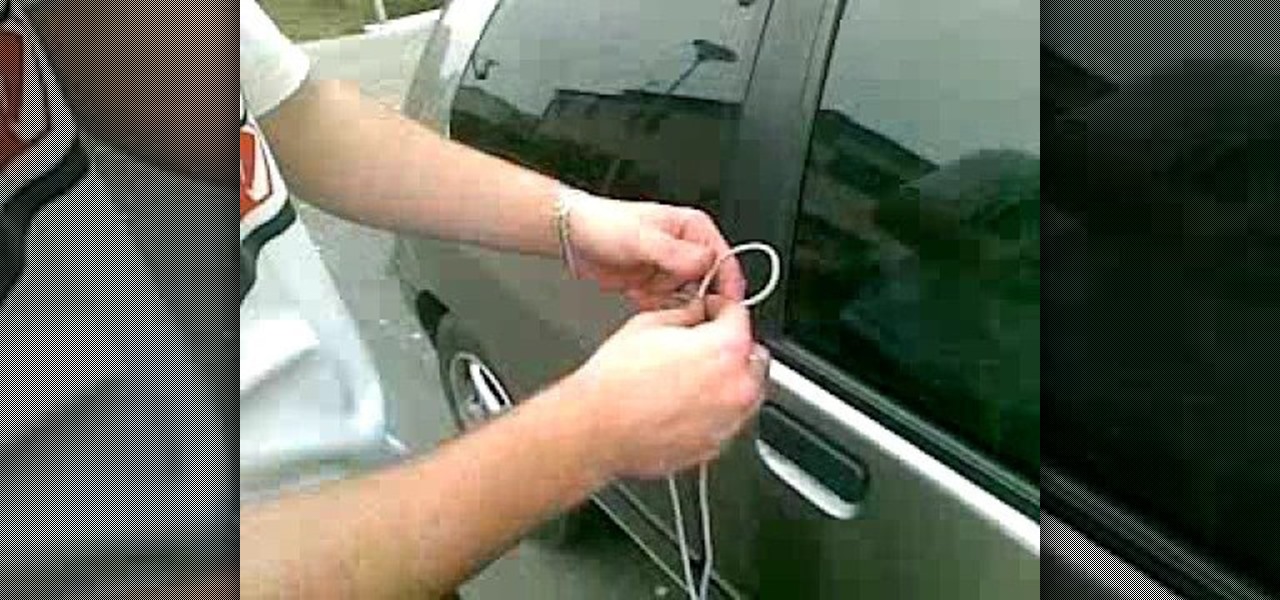
How To: Unlock Your Car Door with a Shoelace in 10 Seconds
Have you locked yourself out of your car? Well, as long as you have a shoelace, you may be able to get back in.

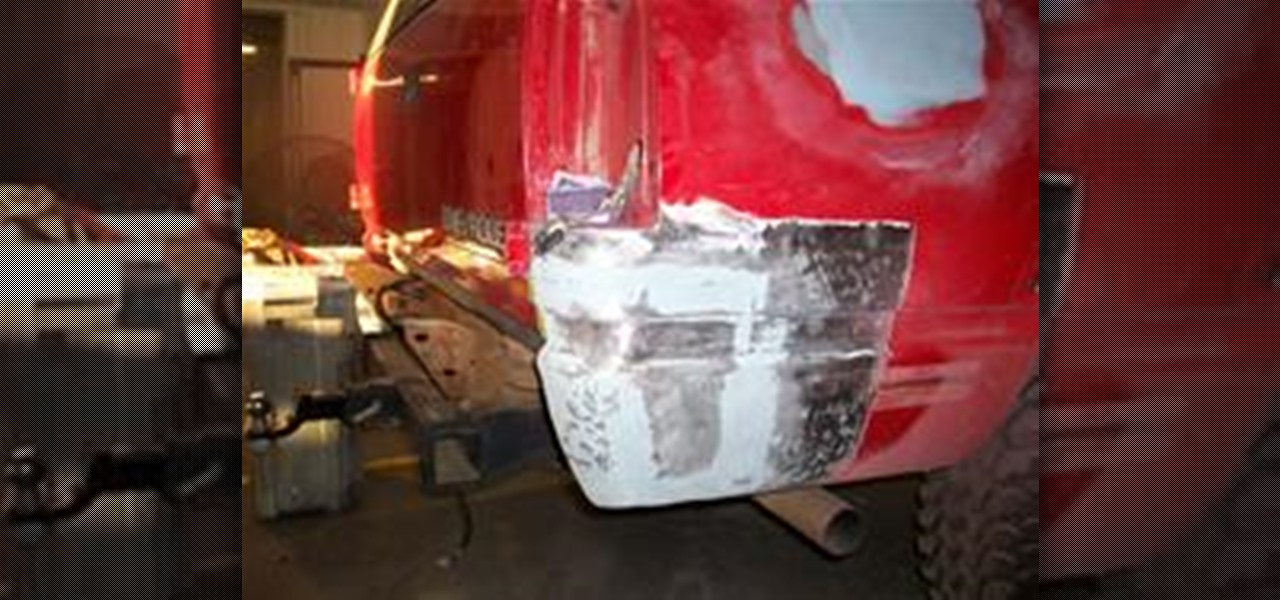
How To: Fix Broken Plastic Tabs on Bumper
A common problem on bumper covers is that the tabs that attach the bumper to the car get broken. This is critical, as this is what secures and aligns the bumper cover. Many times, a broken tab is all that is wrong with the bumper cover. With the cost of these plastic parts $200 to $700, the replacement cost can break the bank.
How To: Use Fiberglass Filler For Auto Body Repair
Assuring A Proper Repair When Welding Vehicle Sheet Metal Any weld that is performed on a vehicle requires certain steps to assure a proper repair. For example, weld-through-primer must be applied to the welded surface being welded; corrosion protection must be applied to the back side of the welded area, etc. In this article we are going to discuss why fiberglass is required for auto body repair.
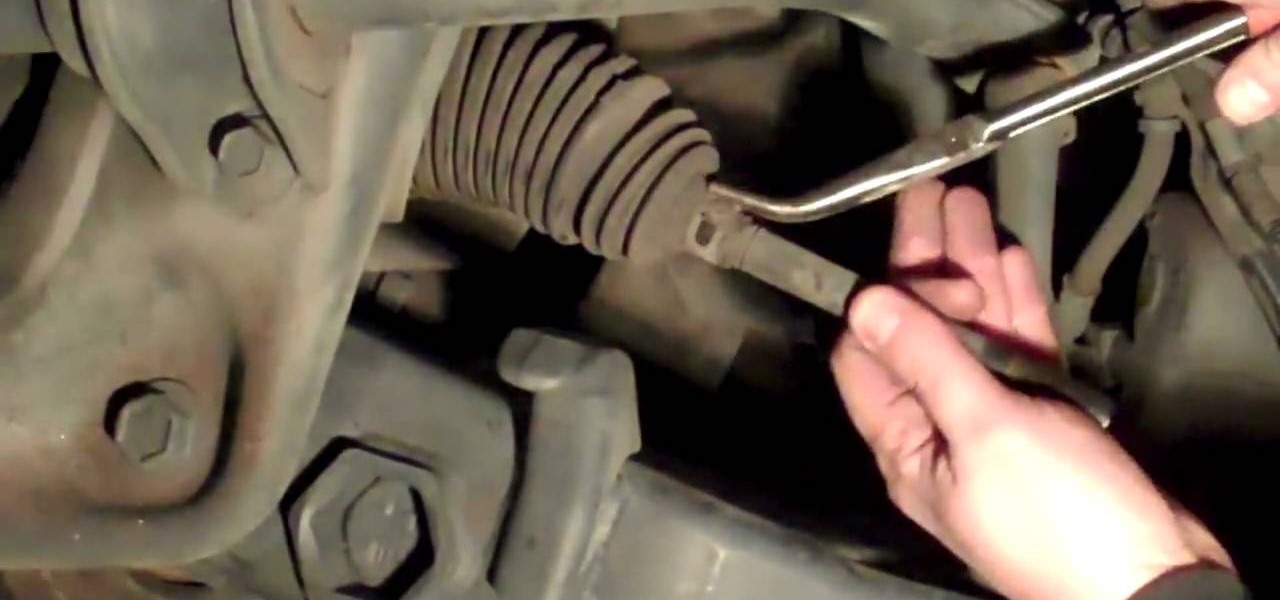
How To: Replace an inner tie rod on a Ford Explorer
In order to replace a inner tie rod on a Ford Explorer, you will need to loosen the jam nut first. Remove the pin and the nut, next. Loosen the outer tie rod. Count the rotations as you remove it. Remove the bellows boot. The inner clamp is not removable. You have to damage it to remove it. You will need an inner tie rod tool. Use your inner tie rod tool and adapter. Spin it. Compare the old and new part to make sure that you have the right one. Now, reinstall the rod. Align the vent tube wit...
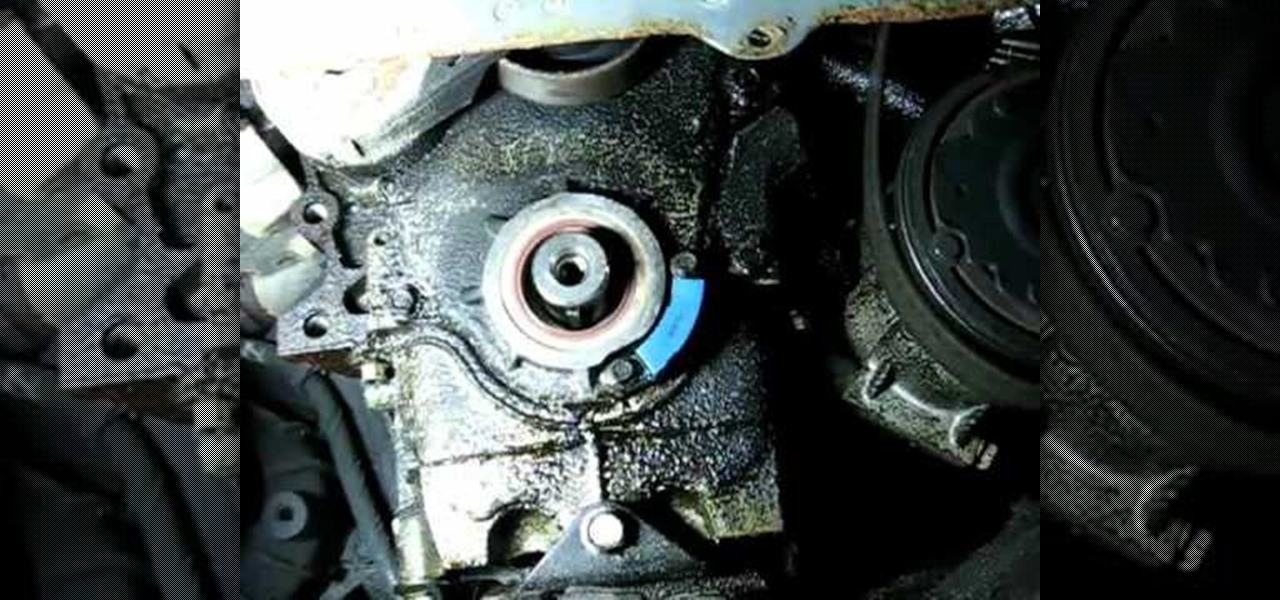
How To: Replace the front crankshaft oil seal on a GM 3.1L V6
Richpin's Auto Care shows you how to replace the cam over seal on a GM 3.1L V6 engine. Once the vehicle is raised and is safely supported by jackstands, you'll be taken through the first step which involves removing the serpentine belt from the engine. After the belt is removed, the video shows you how to remove the splash shield in the wheel next to the engine, using the proper tool. Next you'll be removing the crank pulley using a pulley remover, allowing you to get access to remove the sea...
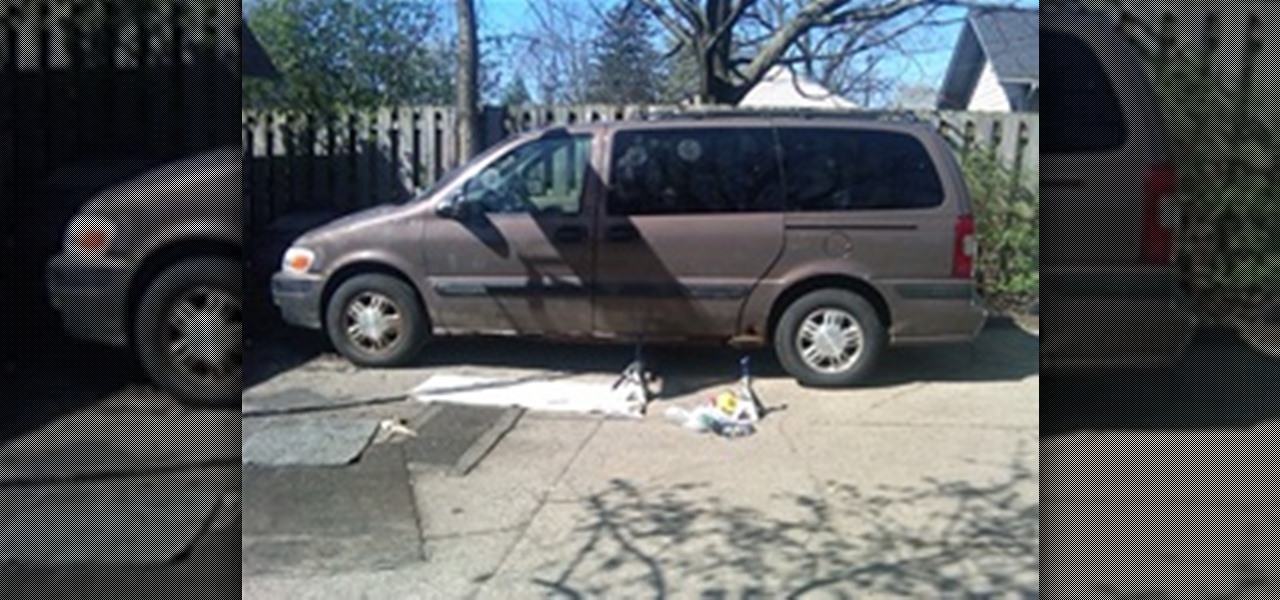
How To: Jack Up a Chevy Venture Van
This article will show you how to lift a Chevy Venture van using a floor jack and jack stands. This procedure may work on other vehicle types and models, such as cars and trucks. The key is to use the proper sized heavy duty floor jacks and jack stands to lift your vehicle, and locate the proper area of the vehicles frame to place the jack and stands.
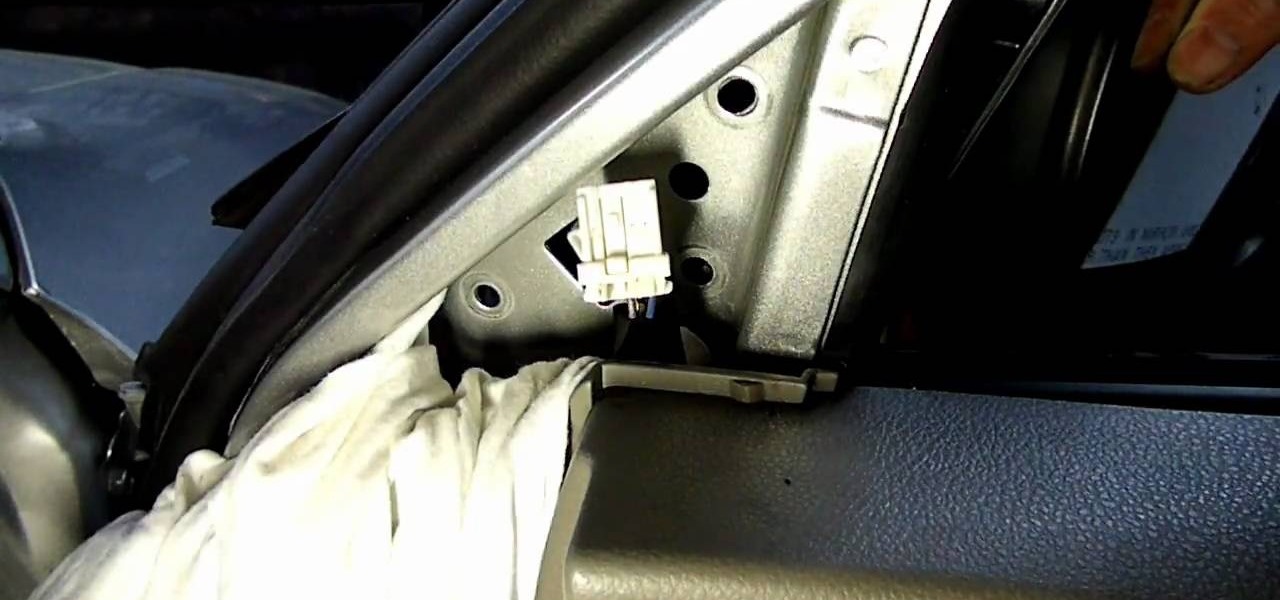
How To: Replace the side view mirror on a Nissan Altima
Someone has just smashed the side mirror off your perfect Nissan Altima that you parked on that busy road you know you shouldn't have parked on anyway, so now it's up to you to repair it— unless you want to pay an overpriced mechanic, who will charge you for parts, labor, and whatever else he thinks he deserves. If you're up for repairing your side view mirror by your lonesome, for cheap, then this video by Richpin will show you the exact steps required to fix your Nissan Altima's side mirror...
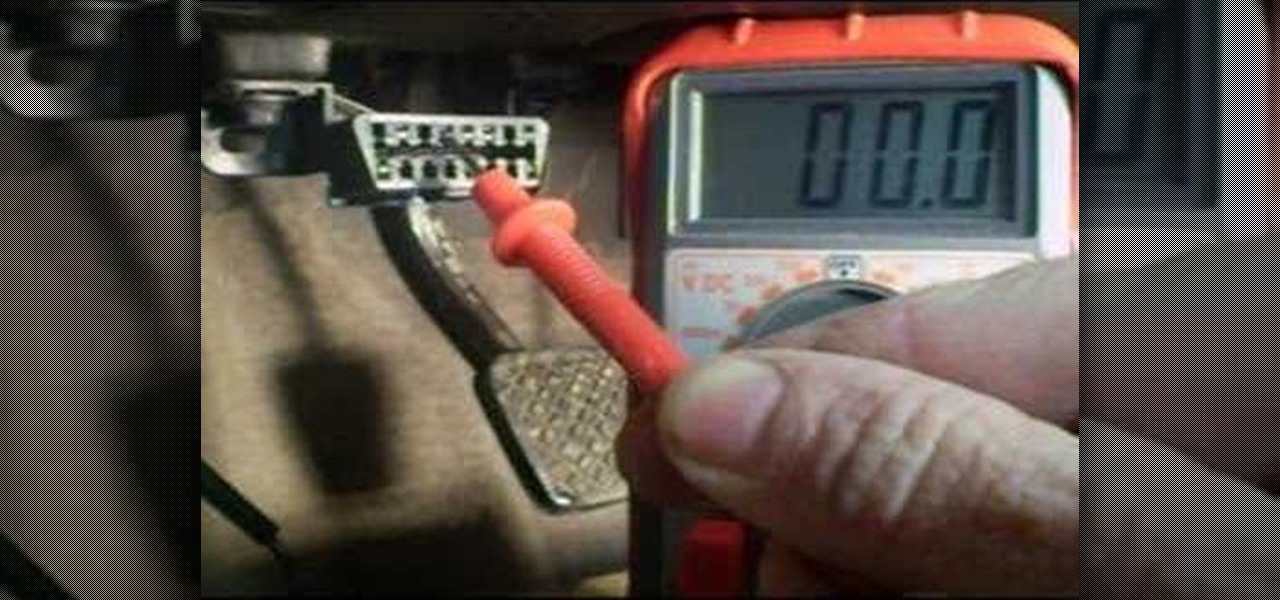
How To: Check the OBD-2 data link in a Saturn S-Series car
One day, your car may break down and you won't be able to afford to hire a mechanic, so what do you do... you look on the web for some how-to vehicle repair videos and become your own car mechanic, that's what. You don't need any advanced training to perform repairs and simple maintenance on your automobile, but you may need a few tools. Invest in the basic tools and you'll be prepared for just about any car malfunction you can think of. These tutorials will help get you on your way, as long ...
How To: Drive Peugeot 308 with Automatic Gearbox (Transmission)
This is an in-depth look at how to drive a Peugeot 308 ALLURE SW (2015, 2016, and 2017 European model) with an automatic gearbox and transmission.
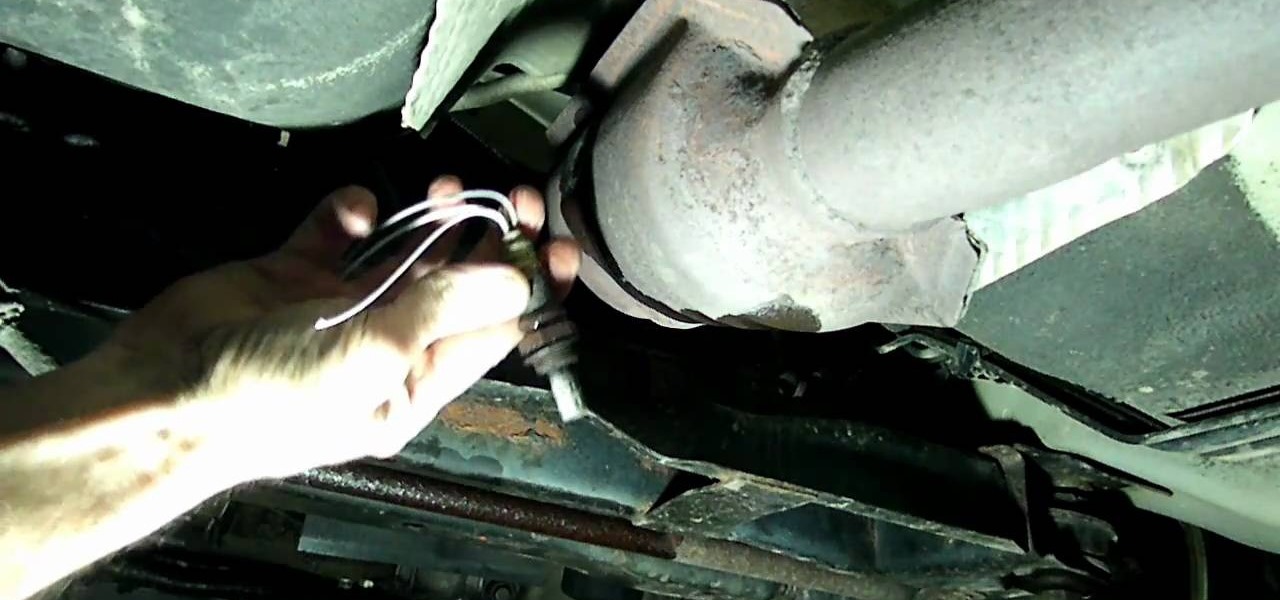
How To: Fix trouble code P0141, the rear oxygen sensor, on a Dodge Neon
If you are the proud owner of a Dodge Neon with a check engine light on and it's showing error code P0141 on your scanner, you probably need to replace the rear oxygen sensor. This video will show you how to do that as easily as possible.
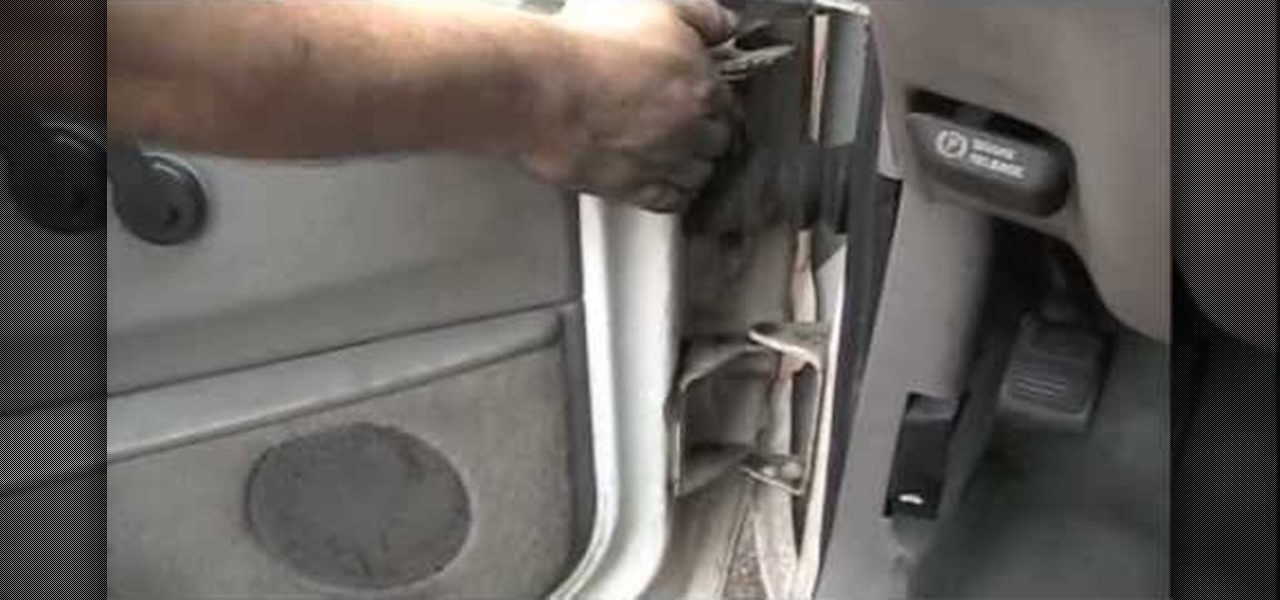
How To: Replace the door hinge pins on a car
When the doors on your car get older they often stop closing as well as they once did. If you've checked the striker plate and that seems fine, you may need to replace your door hinge pins. This video will show you how to do just that.
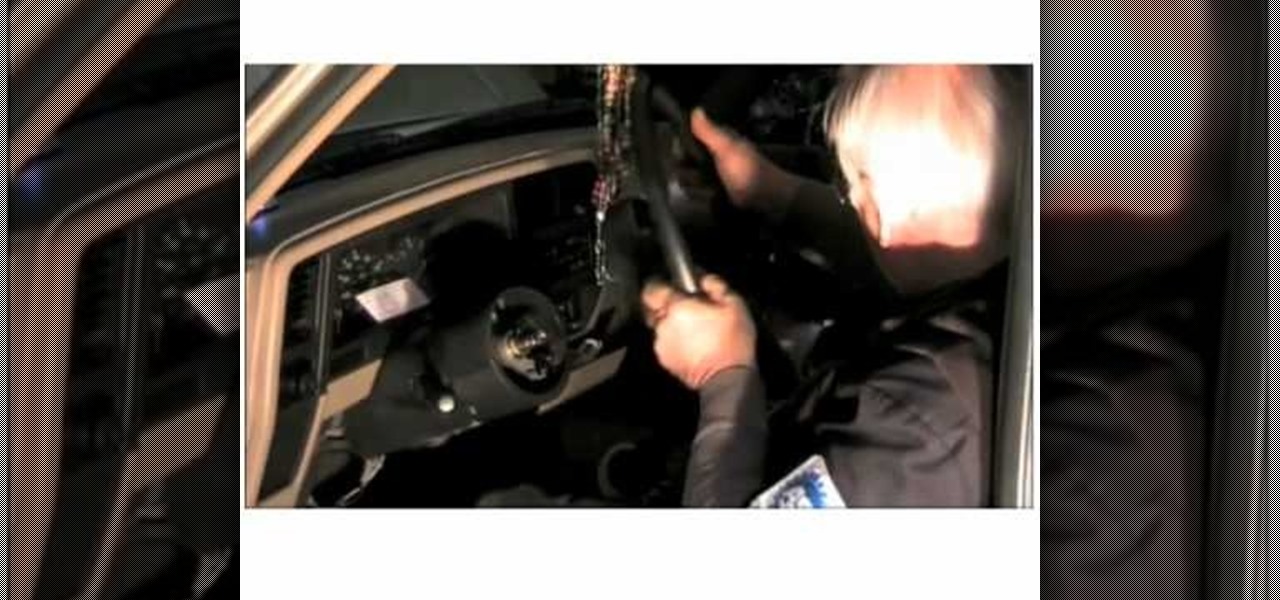
How To: Troubleshoot a horn that's not working in a 1991 Ford Ranger pickup truck
This video will help you diagnose and troubleshoot a non-working horn in a 1991 Ford Ranger pickup truck. First off, the electrical diagram is a great place to start. Make sure the horn switch is getting power from the source. To test this, all you need is power and a ground to test it at the steering wheel. To see what else could be the problem, watch and learn from a professional mechanic.
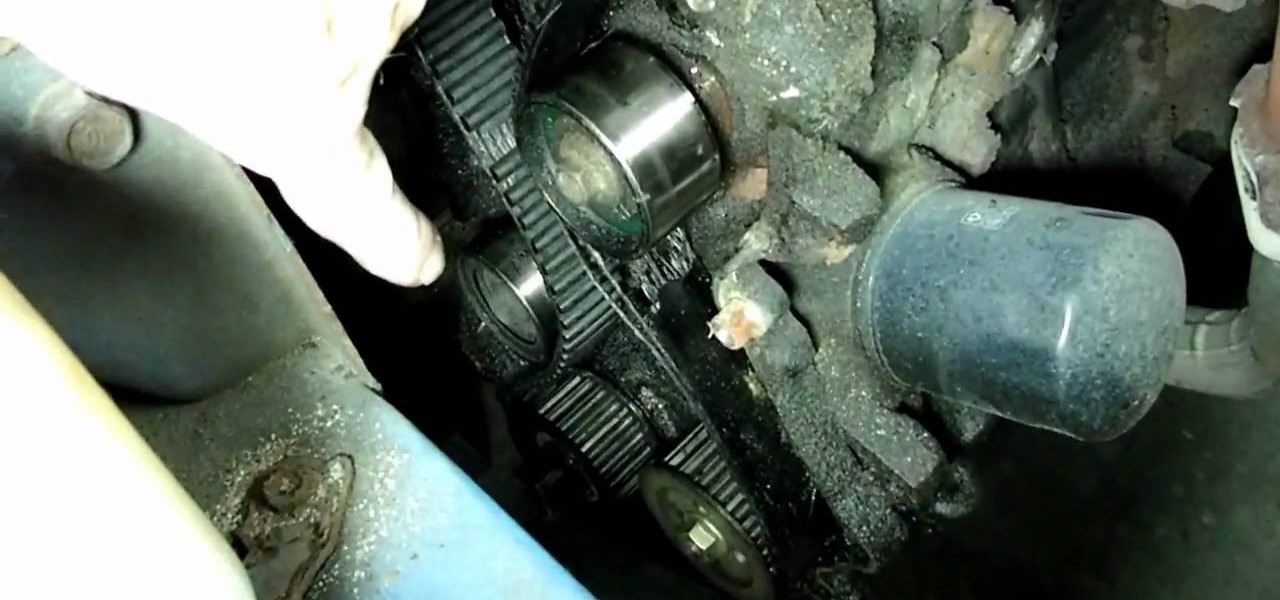
How To: Replace a timing belt & crankshaft seal on a Tercel
Owning a motor vehicle is a big responsibility. Aside from the obvious things that need to be changed or replaced, there are other parts of the car that also need to be taken care of in order for it to work. A timing belt and crankshaft are essential for a working car to have. Without these, you pretty much have a car that can't run. So check out how to replace one on a 1992 Toyota Tercel today. Enjoy!
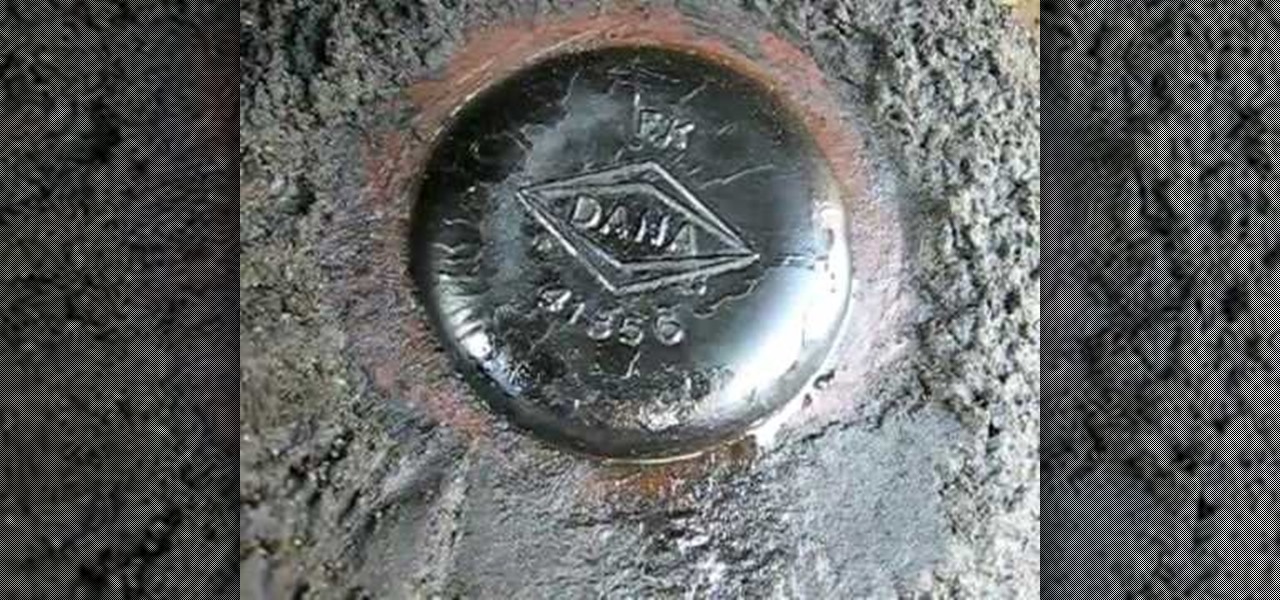
How To: Identify a Jeep rear axle in order to replace it
RichPin shows how to identify a rear axle on a Jeep Grand Cherokee to determine the correct replacement part. The first thing to do is to identify the axle by cleaning the fill plug on the back cover. Look at the inscription of the plug to find out the style of the rear end. In this example, Rich has a "Dana" style rear end. To determine if it is a 35 or 44 Dana, look at the web area to the right of the plug to locate the number. The two steps outlined in this video allow you to identify the ...

News: Frenchman Spends 10 Years Building Lamborghini Motorcycle Sidecar
45-year-old French medical technician, François Knorreck, has spent ten years and $22,000 building the ultimate luxury sidecar: a motorcycle seamlessly attached to a Lamborghini body.
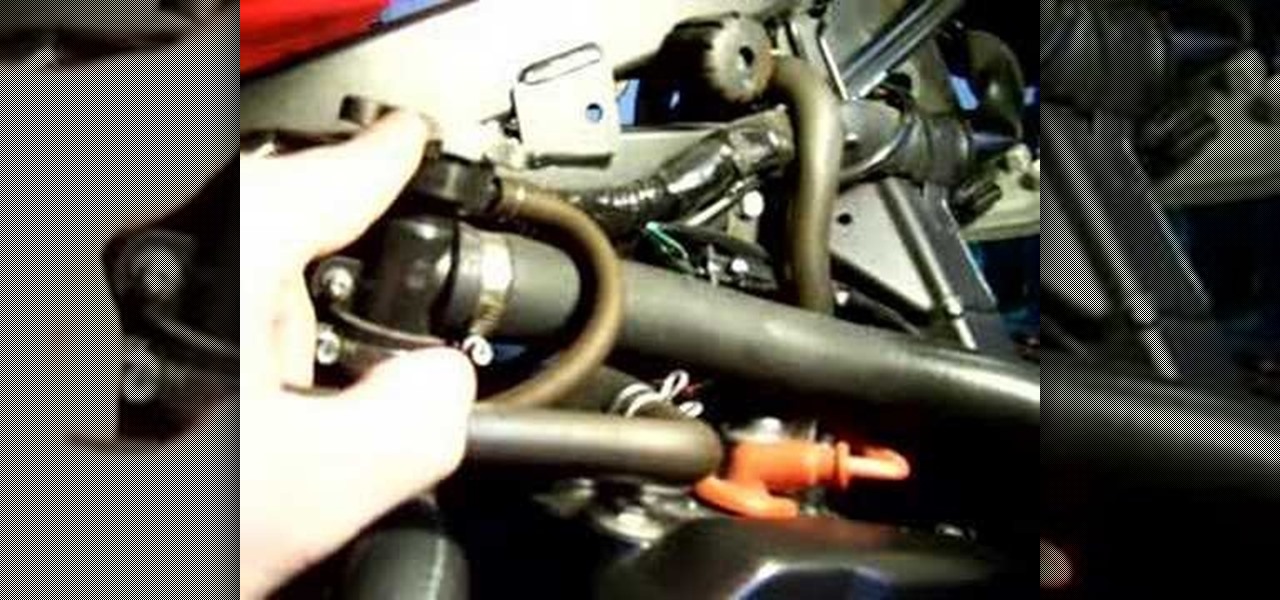
How To: Remove the coolant hoses on a Honda 919 motorcycle
In this automotive repair tutorial you will learn how to replace the coolant lines on a Honda 919/Hornet 900 motorcycle. Learn how to drain the coolant, replace the existing hoses with new ones (in this case braided stainless steels ones) and refill the coolant. If you want to upgrade the coolant hoses or just need to replace the existing ones on your Honda 919 motorcycle, this video shows you how it's done.

How To: Replace the Headlights and Bulbs on Your 2005-07 Chevy Silverado
In this video we will show you how to replace the headlights and bulbs in your 05-07 Chevy Silverado.
Next Page
Prev Page